
Quinn despises getting wet, so making a raincoat just for her has been on my to-do list for almost a year now. To make this sassy number for your favorite furbaby, you'll need some sewing essentials, and old coat that fits well, half a tablecloth, and a full afternoon.
1. Lay the existing coat on top of the fabric (in my case, a vinyl tablecloth with a felted backing). Trace around it with an extra 3/4 inch or so.

2. Cut the shape out.

3. Cut out a shape similar to below that will serve as the hood. (I simply found a hooded shirt that seemed like it would be around the right size for Quinn and used that as a template.)

4. Roll back about one inch of the straight side of the hooded piece and pin it down

5. Stitch this seam down and finish it off with a zig-zig stitch.
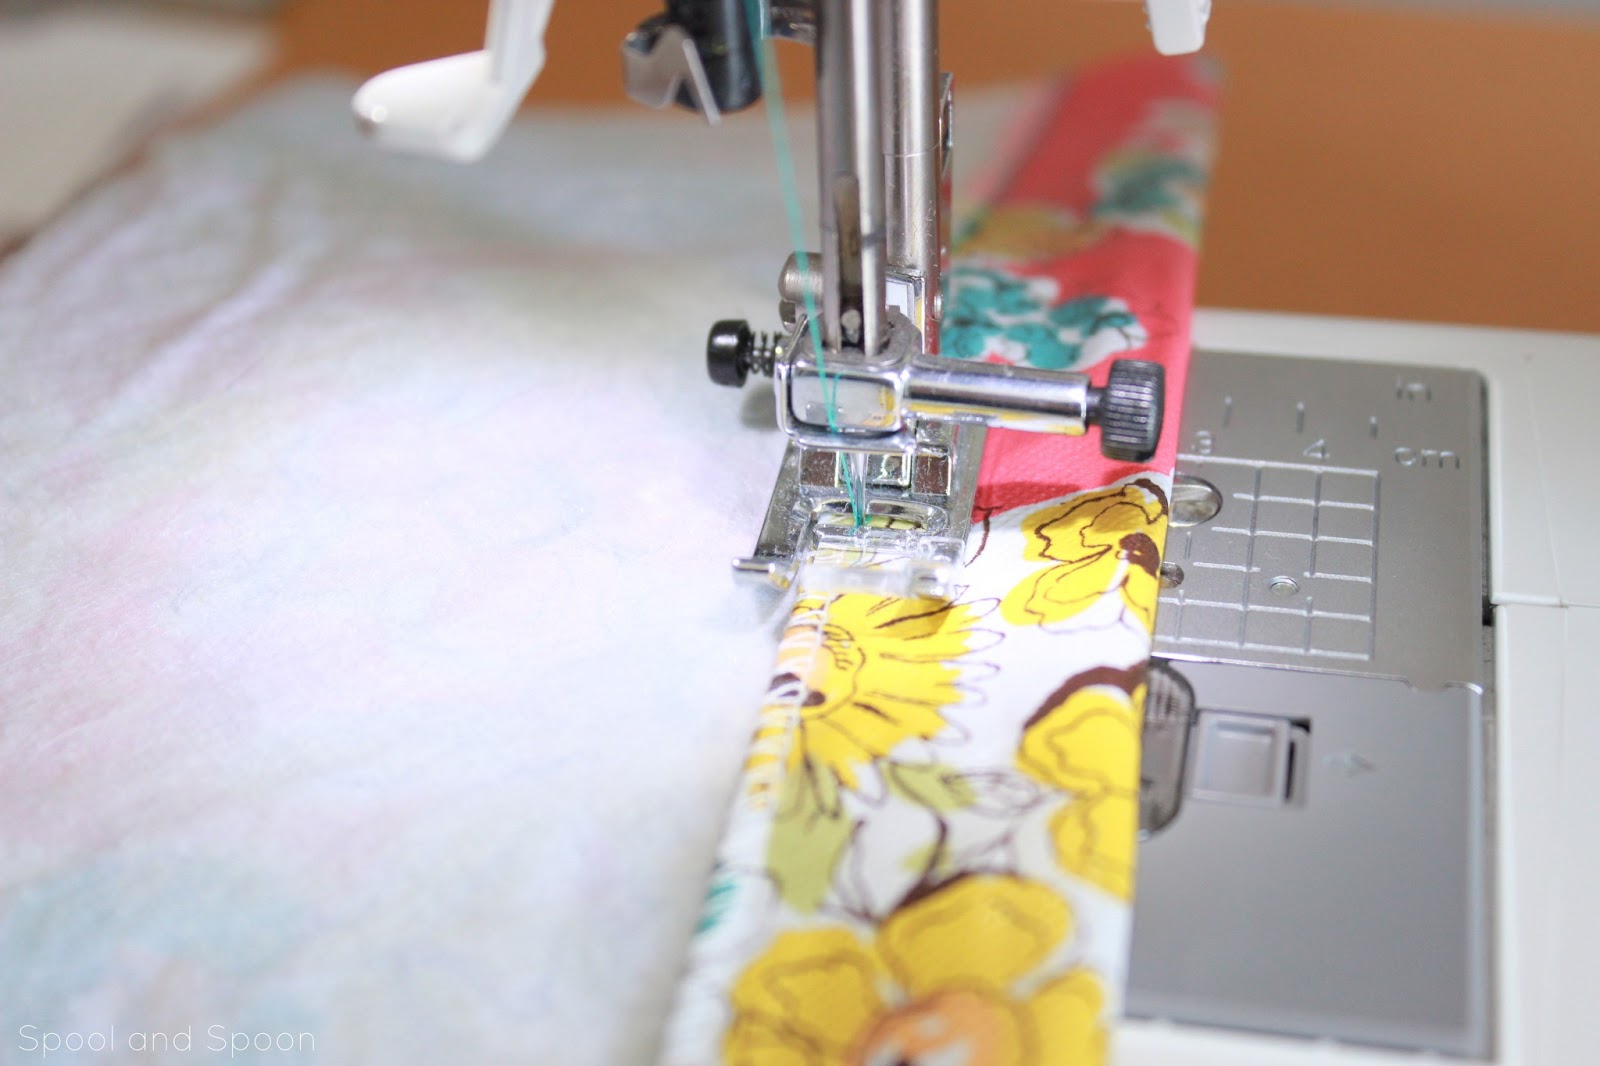
6. While you have your sewing machine out, pin down the edges (about a quarter to half of an inch) around the entire perimeter of the main body of the jacket. Stitch it down with a zig zag stitch.

7. Fold the hooded piece in half, right sides together, and pin along the curves edge. With a half inch seam allowance, stitch around the back.

8. Open the hooded piece and lay it flat on top of the coat body. Align the center of the hood to the center of a jacket, right sides together. Pin it down and leave about 2 inches of overhang on either side (as shown below).


gahhh -- I just LOVE those floppy ears <3
10. Once you're sure that everything fits, it's time to add the closures. I had intended to use velcro like the original jacket, but could not find any in my stash. I settled on some pretty buttons instead. I reinforced the buttons and the buttonhole with scraps of coordinating felt.

At this point, you should be all done. I'm lucky to have a pup who absolutely adores being dressed up. She wears a jacket regularly in the winter so she was all too comfortable wearing something new. She sat there and wagged her tail through all of her fittings. It's been raining so often lately but of course the day that I finished the coat it was as sunny as it could possibly be. No bother, she looked adorable either way!


And I doubt anyone would ever guess her fancy raincoat was once a clearance tablecloth. What do you think? (Hopefully not that I'm some weird lady for dressing up my pets, but I promise, Quinny loves it!)

I'm linking to:
She's such a good dog model! And she can rock pink flowers like nobody's business!
ReplyDeletexo
So smart!!! What a very good idea! Super cute!
ReplyDeleteLOVE this! My dog obsessed friend would die and go to heaven if someone made this for her!
ReplyDeleteSuch a great tutorial....I guess now I have to find a jacket for my pug, all I have is pullover sweaters. But this would be perfect because she also hates getting wet. I might try coordinating booties too (maybe too much?) haha, but seriously. She HATES being wet.
ReplyDelete