
I wanted to take a moment before the tutorial to thank you all again. It means so much to me for you to visit and vote weekly at So You Think You're Crafty (even though you don't know which project mine). Last week's "scraptastic" Coupon Organizer wasn't exactly a winner, as it came in 3rd place, but I'm really happy with the end result. So, how about a tutorial?

This DIY Coupon Organizer was created with a couple fabric scraps and spare cardstock. I'm pretty sure that most of us have those things lying around. Let's get crafting, shall we?
Let me just say -- this is going to be a picture-rich post. For that, I apologize. I never know when I can/should skip a step in photos or not... SORRY! If you still want to read along, please do. :)
1. Cut out three 8x11" pieces of fabric - 2 coordinating colors & 1 piece of interfacing. Do NOT layer them like this below... I wasn't thinking and had to rip out an entire seam around the perimeter... GRR. You want to layer right sides together with the interface on underneath.
2. Pin around the two long sides and one of the short sides as shown below.

3. Stitch around the three sides and flip inside out. When you flip it, the two right sides should be out with the interface on the inside.

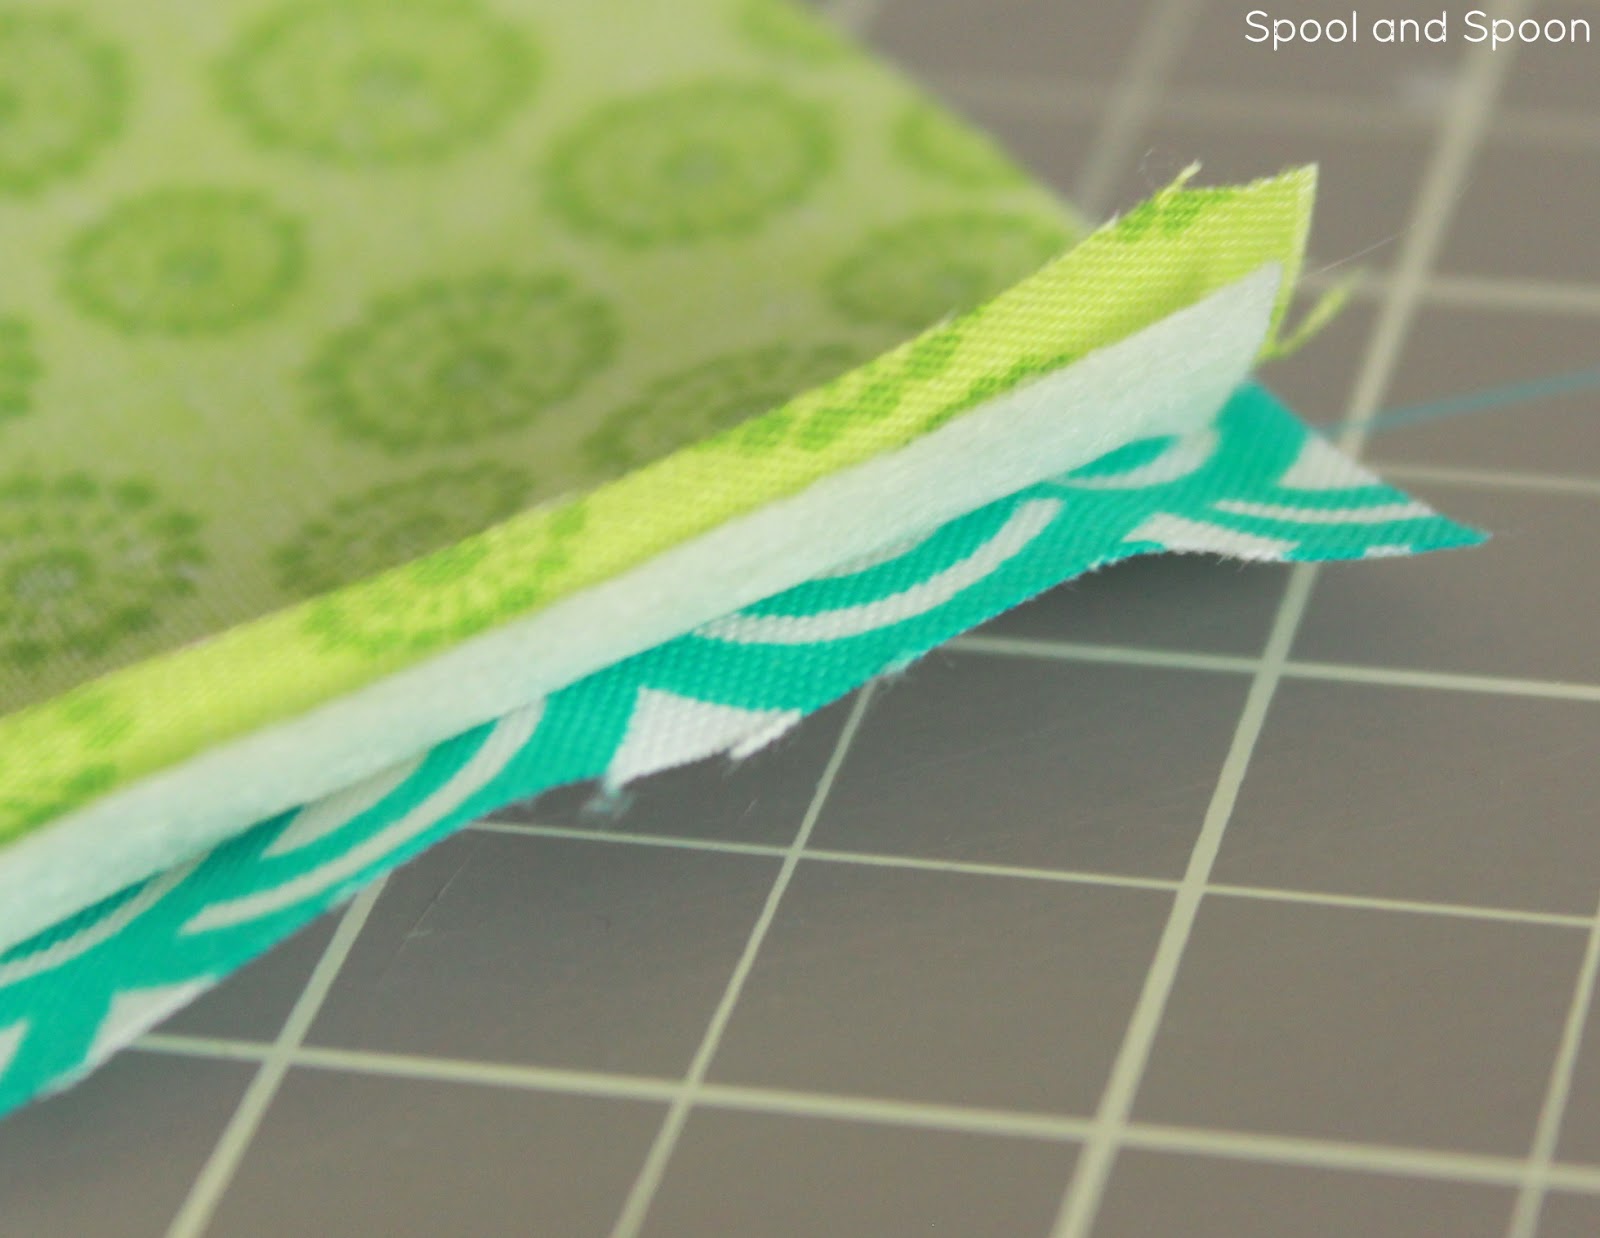
4. To close up the last open edge: fold about a 1/4 inch of it over and iron, then fold it over again, press it, and sew it down with a decorative stitch. This will now be the top edge of the pouch pocket.

5. To make the pouch, fold the side with the rolled edges a little over a third of the way up and stitch it as show below. This will close up the sides as well as finish off the edges :)

6. At this point, the coupon pouch is done. Yayyyyy!

Now, on to the organizers. You could simply use notecards or you could make tabbed dividers using your coordinating printed cardstock! My pieces were 3.5 x 6.5

1. Draw little tabs on the reverse side of each piece of paper. Be sure to position each tab exactly as below (slightly down from the top, in a cascading row). Cut just the tab out with an xacto knife on your cutting mat.

2. Where the tab ends, use a bone folder to mark a straight edge that can then be folded over.

3. Fold each piece over without ripping or tearing the tab.

4. Using some decorative washi tape (or just plain tape) stick the folded edge down

6. When you're all done, you'll have tabbed dividers that line up perfectly as so. How cute??

Label them (or don't) and stick 'em in your coupon organizer. I throw all of my recent receipts and shoppers' cards in front of the organizers and then split up my coupons by: frozen, refrigerated, pantry, cleaning, and beauty.

And that's that! It's simple, way prettier than those plastic accordion files, and it's completely customizable to your needs. I personally love that it takes up so little space in my handbag. And the colors? Well they're just delightful. This would be a great Mother's Day gift or a perfect project for yourself.


I'm linking to:
LOVE this tutorial. I used to coupon a lot more, but since we switched to organic I have a harder time finding relevant coupons. But I might do this anyway for receipt and spending tracking instead of coupons.
ReplyDeleteAnd Congrats on 3rd. Still not a bad spot!
This is so cute! And I agree with Rachel, coming in third is still really good! =) And I am pretty sure you will win this whole thing anyhow, so one week doesn't matter.
ReplyDeletexo
this is superb! Just so vibrant and easy :)
ReplyDeleteHow sweet! I love making the boring jobs pretty, it's easier to deal with. Lovely job thanks for sharing
ReplyDeleteGreat idea and great tutorial. I need to make one of these and keep it in my purse. Maybe that way I would have and actually use a coupon!
ReplyDeleteKC
You did a great job on this project! Your photos and styling are always spot on, and it is clear to see that you have an eye for design! Keep up the great work, Heidi
ReplyDeleteI love this! It's fantastic. But is there a certain type of fabric I should use?
ReplyDeleteHi Allison, I used plain cotton fat quarters for this but I really don't think it matters too much. O hope that helps!
Deleteis the middle layer the same material as the outside layers?
DeleteThanks for the tutorial! Just whipped one up and it's just what I need. I still need to make some dividers, but they can wait. Only modification I made was to add a small bit of velcro for a closure.
ReplyDeleteThis was wonderful! Exactly what I was looking for - and using scraps on-hand was a wonderful plus! I added a button and elastic loop for a closure. Perfect. Thank you, thank you, thank you!
ReplyDelete