
Does your child's school require candy free Valentines for the class exchange? If so, I've got just the DIY for you!

This DIY Arrow Valentine is pretty enough for you to claim the credit but easy enough for the kids to do. Enjoy!
MATERIALS:
Leaf/Feather shapes (one fat, one thin)
Multi-colored scrapbook paper
Washi tape
Pencils

METHOD:
While you can definitely freehand them, I'd suggest tracing and cutting out lots and lots of feathers. You'll need three feathers per pencil. I decided upon two fat feathers and one long/thin feather per pencil
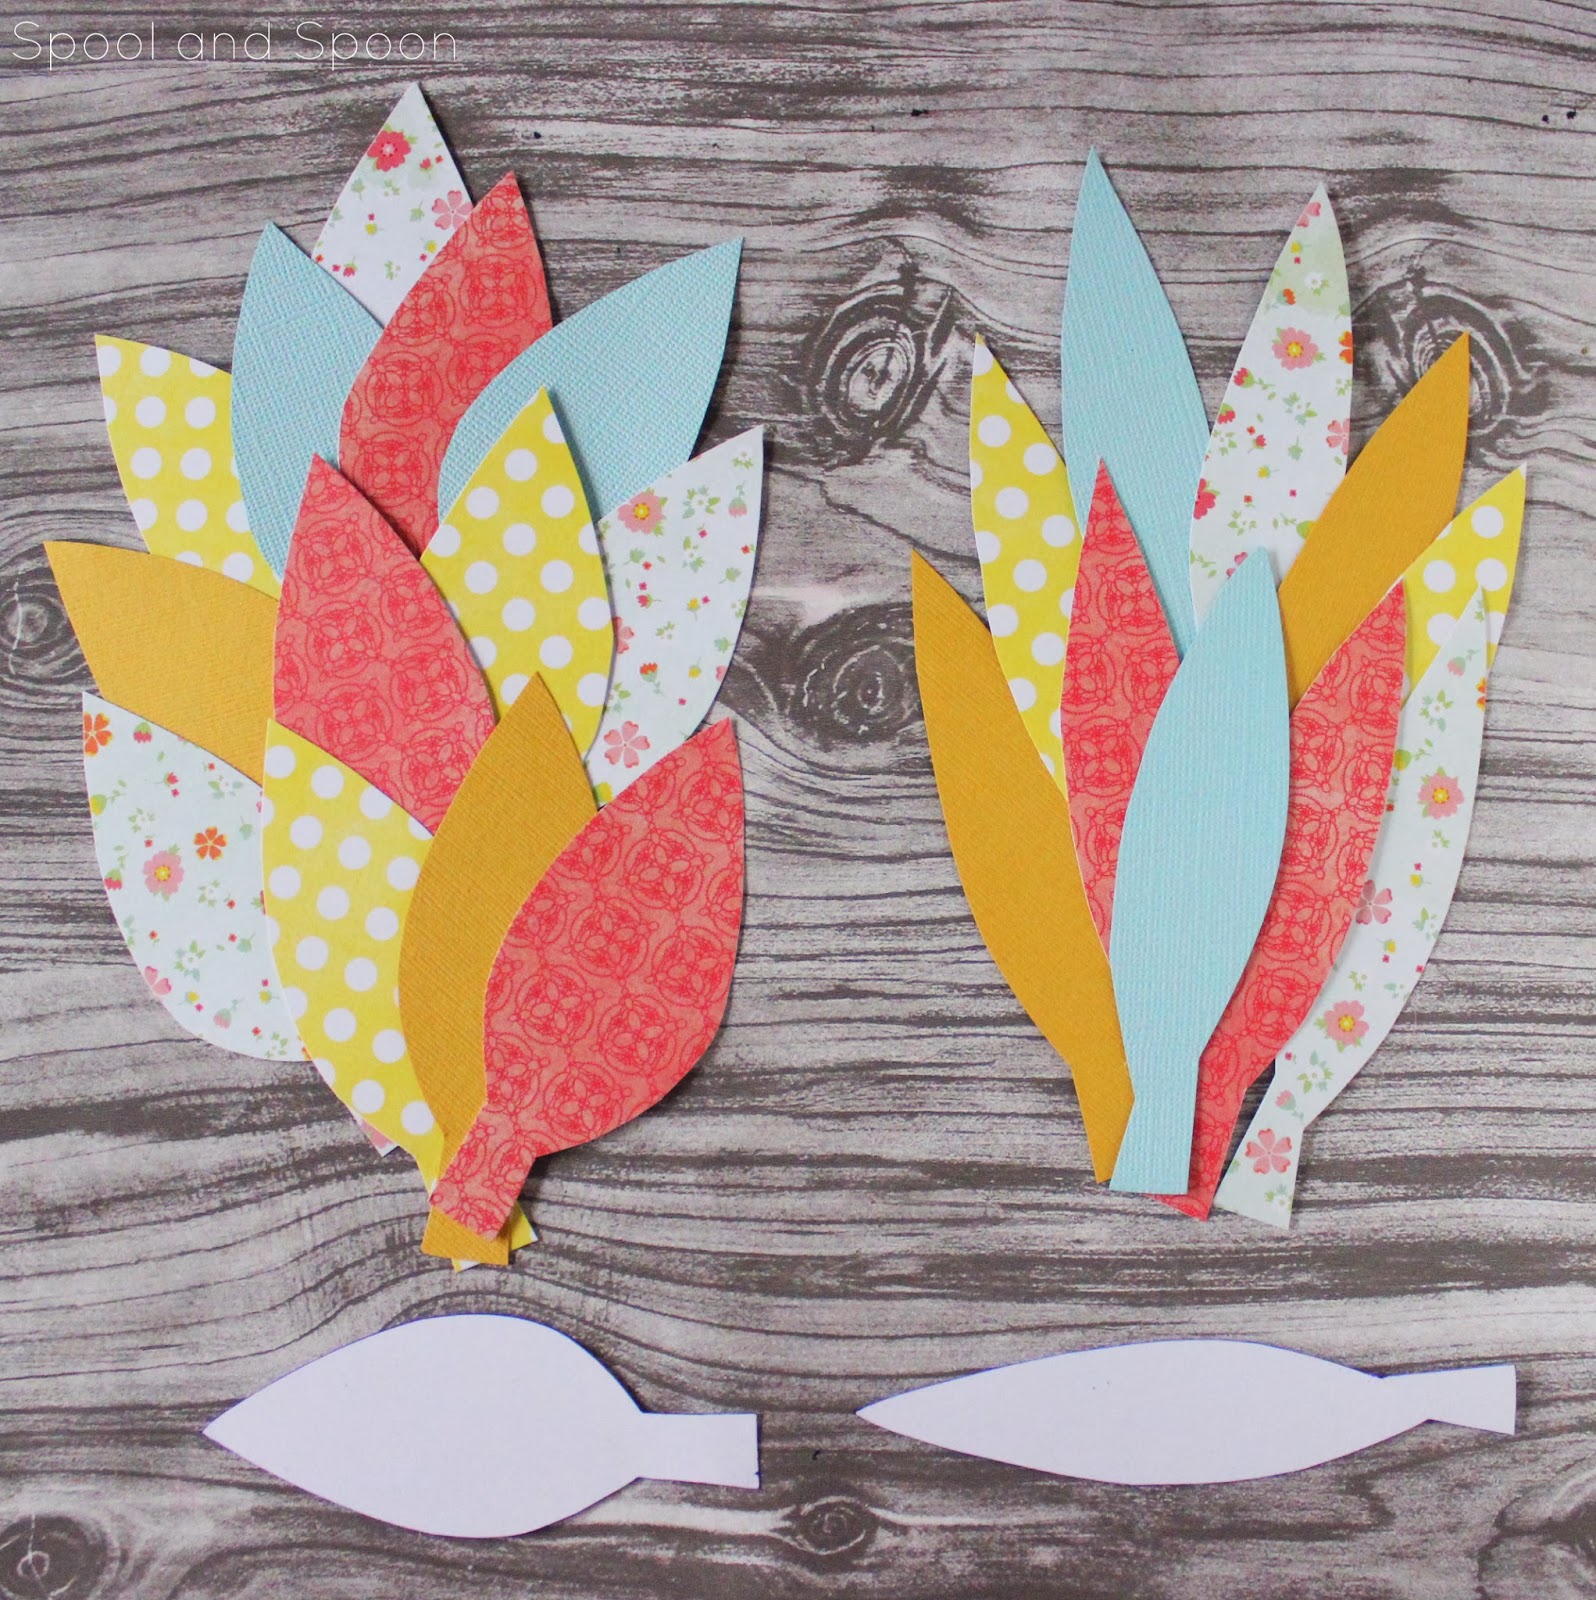
Organize the feathers into coordinating sets per pencil to be sure that you don't end up with mismatched or ill-coordinated pieces.

Taking one feather at a time, fold a crease straight down the center. I prefer to use a folding mat and bone folder but that's totally optional.

Next, cut fringes down the sides, almost all the way to the center crease but not quite through it. Now your feather has little fronds :)

When you've finished up the three feathers of the set, gather them together in a pleasing layout.

With a two inch strip of washi tape, wrap the leaves around the base of the pencil (about an inch below the eraser tip). While you could use regular tape, I'd really suggest washi because it's strong, flexible, and EASILY removed by tiny fingers when they're ready to use the pencil for it's actual purpose.

Now, onto the arrowhead! I cut out some fun glitter chipboard tips but these could just as easily be regular colored cardstock. Use an adhesive dot to stick the tip onto the front of the pencil.

At this point, it's not a pencil anymore! You've got the cutest little Cupid's arrow that you ever did see!


And there you have it. Functional meets fabulous! Simply tie on a tag and you're done.

I'm linking to:
No comments:
Post a Comment
Feel free to share your thoughts or questions. You make my day!
xo Jess